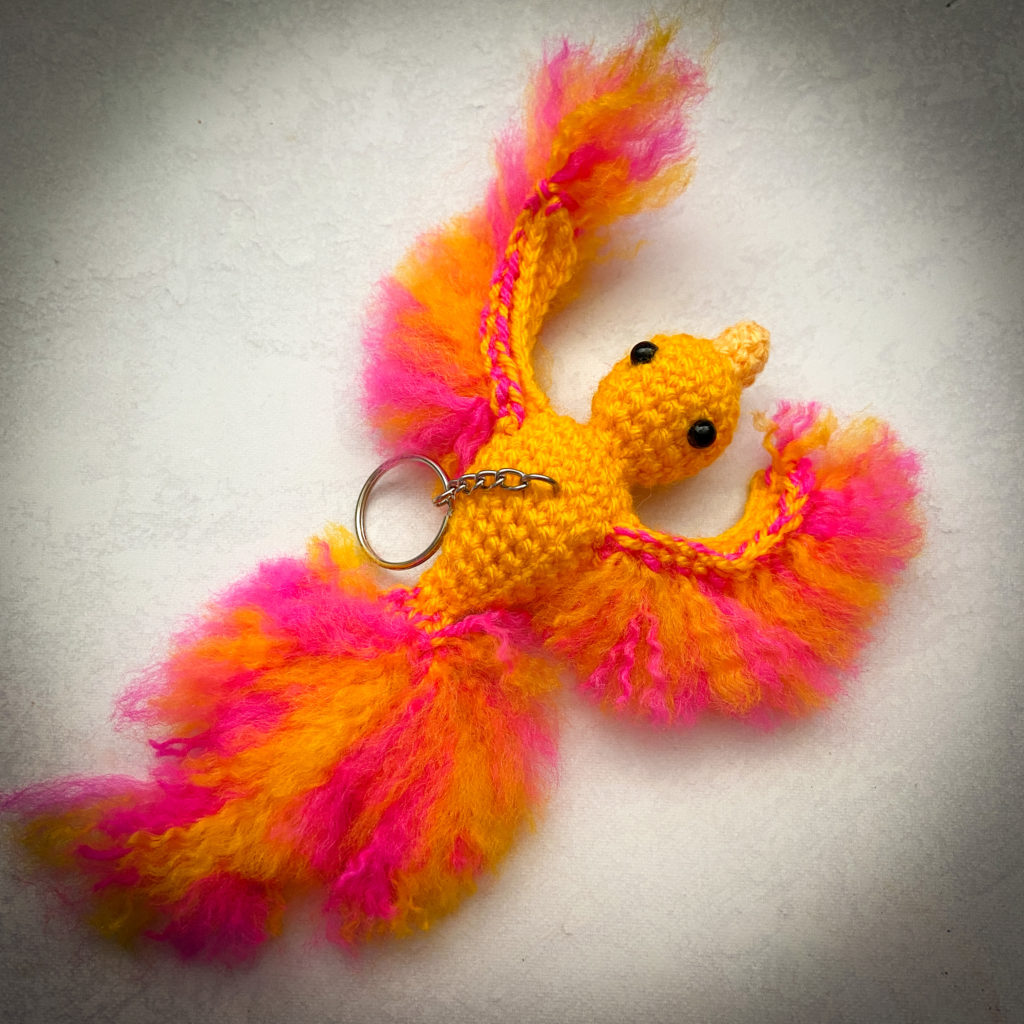
This amigurumi phoenix key chain pattern is a bright and happy addition to your key ring or bag! This crochet project looks great in many colors!

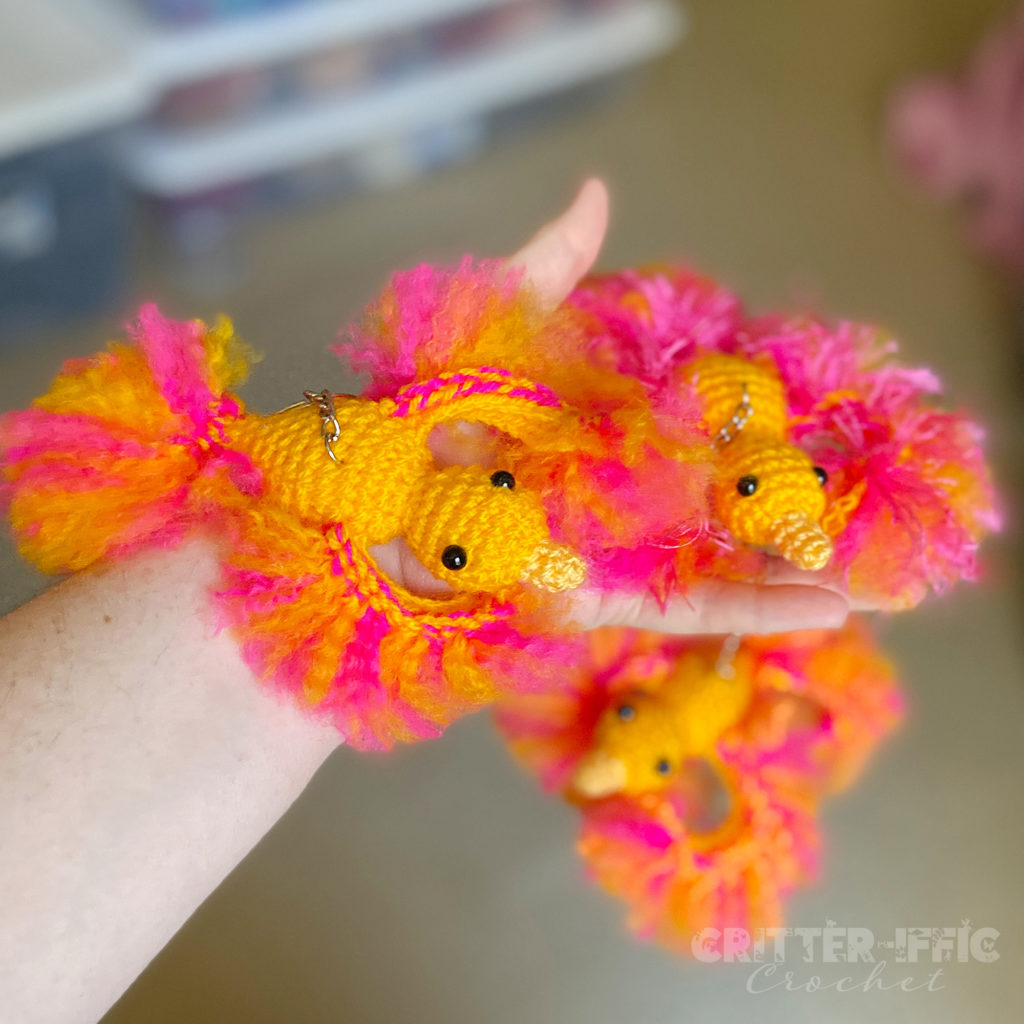
This phoenix key chain crochet pattern is a fun project that uses a small amount of yarn. Your finished plush will be approx. 6″ long when you create using a DK yarn and 3.25 & 3.75 hooks.
Materials needed for phoenix key chain
DK weight yarn (3)
• 45 yards main color (body)
• 20 yards accent color (tail and wings)
•<5 yards beak color
Other Materials needed
• 3.25 & 3.75 crochet hooks
• (2) 6mm safety eyes
• Key Ring
• wire pet slicker brush
• Stuffing, Stitch marker, Yarn needle, & Scissors
Stitch Key
• Ch: Chain
• Sl St: Slip Stitch
• St (s): Stitch(es)
• Sc: Single Crochet
• Sc Inc: Place 2 Sc Sts into the same St to increase by 1
• Sc Dec: Sc the next 2 Sts together to decrease by 1
• Sk: Skip St
• Loop: Loop Stitch
• Yo: Yarn over
• FLO: Front loop only
• BLO: Back loop only
• MR: Magic Ring
• []: Repeat the Sts between these as many times as stated after.
• (): Place all Sts within these into the the same St
• FO: Fasten off with a Sl St to the first St made or use the invisible join method
How to read this crochet pattern
Example: Round 4: [Sc, Sc Inc, Sc] x 6. (24)
What that means: Single crochet into the next St, then place 2 Single crochet into the next stitch to increase, and Single crochet into the next stitch. Repeat this set of instructions within the [ ] 6 times around, ending with a count of 24 stitches total in round 4.
Phoenix Key Chain Pattern
Head & Body
• With your beak color yarn & 3.25 mm hook
• Worked in the round
Round 1: 4 Sc into MR. (4) Pull closed.
Round 2: [Sc Inc, Sc] x 2. (6)
Rounds 3-4: Sc x 6. (6) (2 rounds)
• Change to main color yarn.
Round 5: [Sc Inc] x 6. (12)
Round 6: [Sc Inc, Sc] x 6. (18)
Rounds 7-9: Sc x 18. (18) (3 rounds)
Round 10: [Sc Dec, Sc x 4] x 3. (15)
Round 11: [Sc Dec, Sc x 3] x 3. (12)
• Add your safety eyes between rows 8 & 9 with approx. 5 Sts between them.
• Stuff head.
Round 12: [Sc Dec] x 6. (6)
Round 13: [Sc Inc] x 6. (12)
Round 14: [Sc Inc] x 12. (24)
Rounds 15-17: Sc x 24. (24) (3 rounds)
Round 18: [Sc Dec, Sc x 6] x 3. (21)
Round 19: [Sc Dec, Sc x 5] x 3. (18)
Round 20: [Sc Dec, Sc x 4] x 3. (15)
Round 21: [Sc Dec, Sc x 3] x 3. (12)
• Stuff body.
Round 22: [Sc Dec, Sc x 2] x 3. (9)
Round 23: [Sc Dec, Sc] x 3. (6)
Round 24: Sc until you hit the side edge of the body where the eyes are facing up without going around onto what would be the belly (this will only be one or two stitches from where round 23 ends depending on your tension).
• Finish stuffing and pinch together to close.
Round 25: Working through both sides at once, Sc x 2. Sc once again picking up your accent yarn as you close the stitch. Turn. (3) This row is your tail base.
• Make sure you are working with the bottom of the body facing up (the side without the eyes showing) as we start the tail.
• Change to your 3.75 hook.
Tail
• With your 3.75 mm hook
• With main and accent yarns held together
• Ch x 8
Row 1: Loop into 2nd Ch from the hook, Loop x 6 down the chain, Sl St into the 1st Sc of the tail base to join. (7)
• Ch x 12
Row 2: Loop into 2nd Ch from the hook, Loop x 10 down the chain, Sl St into the 2nd Sc of the tail base to join. (11)
• Ch x 8
Row 3: Loop into the 2nd Ch from the hook, Loop x 6 down the chain, Sl St into the 3rd Sc of the tail base to join. (7)
• FO, and weave in ends.
Wing 1
• With your 3.25 mm hook
• With main color yarn
• Leaving a long starting tail, Ch x 14
Row 1: Sl St into 2nd Ch from the hook, Sc x 12 across ch, Ch x 1, turn. (13)
Row 2: FLO: Sc x 11, Sl St x 2. (13)
• FO, weave in end.
Wing 2
• With your 3.25 mm hook
• With main color yarn
• Leaving a long starting tail, Ch x 14
Row 1: Sl St into 2nd Ch from the hook, Sc x 12 across ch, Ch x 1, turn. (13)
Row 2: BLO: Sc x 11, Sl St x 2. (13)
• FO, weave in end.
• Using the starting tails, Sew wings to the sides of round 15-16 of the body with row 1 facing forward closes to the head, and the unworked loops of row 2 (the back loops of wing 1, and the front loops of wing 2) facing up.
Edging Wings
• The wing edging may be worked differently depending on if you are a left handed or right handed crocheter. You want to work them so that the loop stitches are pointing towards the tail. You will be using your 3.75mm hook.
• Holding your phoenix head closest to you and the tail pointing away from your body, attach your main and accent color yarns to the outside edge unworked St of row 2 and Ch x 1 . You will be working inward towards the body.
• Starting in the same st, Loop x 13 across until you hit the body. Sl St into round 16 of the body right next to the wing. FO and weave in ends.
• To work the other wing, attach your main and accent yarn to round 16 of the body right next to the wing join with a Sl St and Ch x 1. You will be working from the body to the outer edge of the wing. Loop x 13 across. FO and weave in ends.
Brushing Out your phoenix key chain
• Take your scissors and very carefully cut the center of al yarns of each of the loop Sts of the wings and tail.
• Use your pet slicker brush, and brush out the cut loop Sts until your wings and tail are as fluffy as you like, making sure to stop and clean out brush as needed.
• Trim to even out the edges if you wish.
• Add your key ring to the center back of the body.
I hope you have enjoyed creating my Ashley the Phoenix Key Chain pattern! Once you make one, send it to me so I can share it in the community gallery!
Ashley the Phoenix Key Chain amigurumi pattern is available in a stylized PDF version on Ravelry, Etsy, & Lovecrafts and comes with helpful step by step pictures in full color as well as text only print version.

Leave a Reply
You must be logged in to post a comment.